How to install Xamarin on Visual Studio and system?
10 minute(s) read | Published on: Apr 13, 2021 Updated on: Dec 14, 2021 |
Xamarin can be installed on Windows and Mac operating systems, but the method and steps of installation on each operating system are different. This tutorial includes a step-by-step tutorial on installing Xamarin on different Windows and Mac operating systems.

Install Xamarin on Windows
1- Download Visual Studio 2019 from the Visual Studio site and source.
2- Perform the installation steps by double-clicking.
3- Select Mobile development with .NET for installation on the opened page and start the installation process again.
4- Select Install and click to begin the installation process.
5- It takes a while to complete the installation process. After completing the installation process, select and launch to run it.
6- After installing Visual Studio, it is time to add Xamarin to VisualStudio.
7- After you install Xamarin, you can restart it, in which case Xamarin will be added to VisualStudio.
8- To make sure whether Xamarin has been added to VisualStudio or not, you can click on the Help menu and see if Xamarin is installed or not.
9- Another way to make sure whether Xamarin has been added to VisualStudio or not, you can go to Help- About Microsoft VisualStudio and see Xamarin in the list of added programs.
Add Xamarin.Ios to VisualStudio
After installing Xamarin, we need to add Xamarin.Ios to Visual-Studio as well.
Here are some things we need to do to build applications using Xamarin.Ios:
A system with Windows operating system on which visual-studio 2019 is installed.
A Mac operating system also has access to Apple's build tool and Xamarin.Ios and also connects to the Internet.
Visual Studio 2019 accesses the system via the web and can use Apple's build tool to compile.
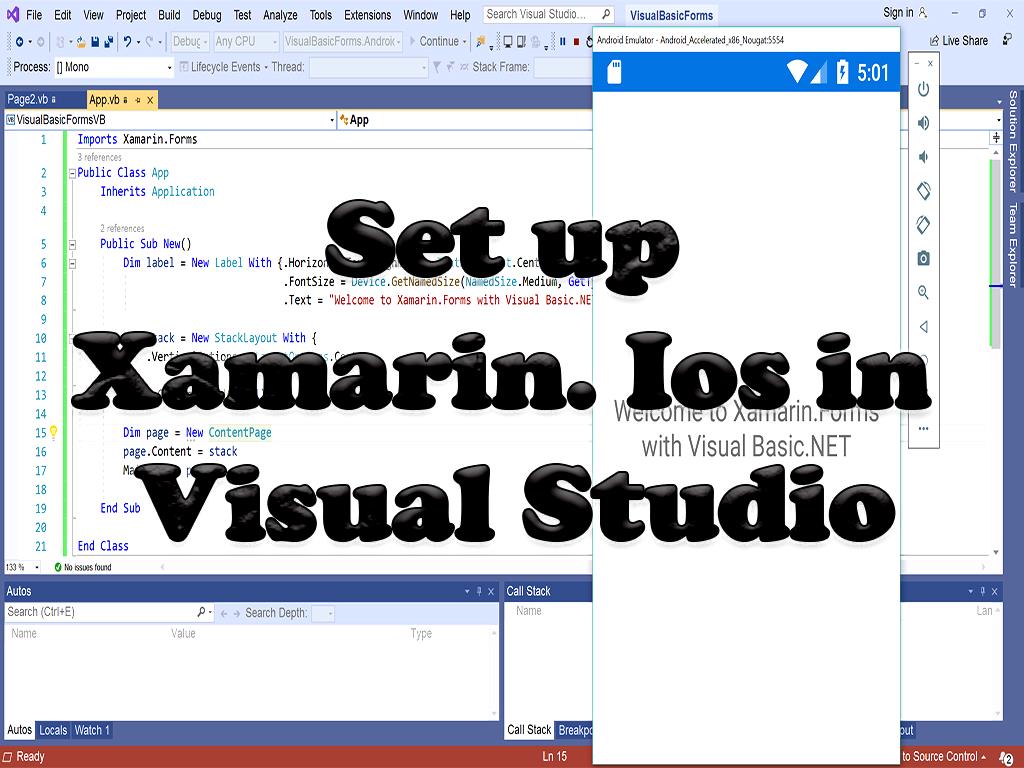
Set up Xamarin.Ios in Visual-Studio
1- To make Xamarin. Ios settings, you must install Visual-Studio 2019 on your Windows system.
2- Reinstall Xcode and Visual-Studio on your Mac.
To build debug and sign iOS applications, Apple's development tools (Xcode) and Xamarin.Ios must be connected to the Mac build host configured via the Internet.
3- In the next step, you need to install Visual-studio2019 on your Mac system.
For visual-studio 2019 to use the ios build tools to get Help connecting to the Mac connect to both Mac and Windows systems over the network.
Setup Xamarin. Android on Windows
Today, with new updates to Xamarin and Visual Studio, Xamarin includes all the editions previously existed in Visual Studio. Of course, all these editions are available at Xamarin at no cost and can be used. For this reason, you can use a visual studio installer to download and install xamarin. Android tools do not need to download and install some licenses in this method.
In this part of the Xamarin. Android installation tutorial, you will learn the following:
- How to determine the right place to store the Java development kit, Android SDK and Android NDK?
- How to set up an Android device for troubleshooting and testing.
- How to create and launch the first Xamarin. Android project.
After following this tutorial, you will have Xamarin. Android installed on your system that is ready to create your first project, and you can easily create and launch your first project.
setup Xamarin.android
After installing Xamarin on Visual-Studio, we have to adjust it. Install Xamarin according to the tutorials listed above and add it to Visual-Studio.
Set Xamarin. Android
Java Development Kit (JDK) and Android SDK are used to build applications in xamarin. Android, which is used to build and create projects and applications in Android.
Android API level settings are used to find similarities between your application and different versions of Android. Android API levels that you select and use to build and create applications can require different Android SDKs. This means that the number of Android SDKs you have to install can vary depending on the Android API level you choose. If needed, you can also install emulator images inside the Android SDK through the Android SDK Manager. The access path to these Tools is> Android> Android SDK Manager.
Note that Visual Studio installs Google Android SDK Manager by default.
All versions of the Android SDK Tool package before version 25.2.3 can be installed using Google Android SDK Manager. Still, if you want to install higher versions, you must install the Xamarin Android SDK plugin on Visual Studio and add.
Android emulator
Android emulator can be useful in building and executing projects and applications.
In this case, if a physical device such as a phone or tablet is not available, the result and launch of the application can be done virtually in the software. Android emulator provides an application environment in hardware such as tablets and phones, and you can easily see and test this environment through this simulator.
The Android device emulator in the system includes the following:
This simulator includes QEMU, which can generate and build virtual devices for workspaces.
An Emulator Image is a template, image, or emulator image of an operating system or hardware that must be simulated; In other words, the virtual image has the environment to be simulated. For example, you can use the image emulator to show the hardware and device needed to emulate the Nexus 5X, which will run Android 7.0 and have Google play service installed. Android Virtual Device (AVD) is a physical device built and simulated in an image emulator. When applications built using Xamarin want to start testing, Xamarin. Android activates the emulator, installs the APK, and runs the application.
You can use technologies to improve the quality and performance of the simulation, so if you use systems and computers based on x86, use the following two technologies to increase and improve the quality.
Microsoft's Hyper-V is a technology for computers running Windows 10 and above with the April 2018 update.
How to build the first application after the installation process?
Requirements for performing these steps of training and building and designing the application:
Windows10
Visual-Studio 2019 or versions 15.8 or higher
1- To create the first project and build the first application, you must go to File- New- Project to create the first project and create your desired application.
2- Then, you have to select New Project, which is under the templates option.
3- To specify the output type of the application you want to design and build, select the android app on the right and specify the application type and its output.
4- Then, you can give the desired name to the application you want to design. After putting the desired name on the project and application, you can close the naming window by pressing the ok button.
Note:
In this tutorial, the name of the application we want to create and design MyApp has been selected.
5- In the Blank App section, you must click on the New Android App select it and click the ok button.
6- In the Solution Explorer section, open the layout folder inside the Resources folder.
7- Double-click on activity_main. axml in the layout folder to activate the Android designer, and you can apply the changes you want to it.
important things:
The layout exists in content_main. axml instead of in activity_main. axml.
The layout is RelativeLayout by default. For this reason, to continue training without any problems, we need to change the tags to tags.
8- In the Toolbox section on the left, enter the word Text in the search field so that you can drag the Text (Large) widget on the screen.
9- By selecting Properties, you can change the properties and appearance of the Text (Large) widget.
10- Select the Plain Text widget from the Toolbox, drag it into the page and place it under the Text (Large) widget.
Note:
Of course, you should note that you have to move the mouse pointer on the screen, and you cannot place the widget until it determines the appropriate place to place it. So you have to move the mouse pointer so that you can finally find the right place.
11- After putting Plain Text, you have to go to the Properties section to change the ID attribute.
12- Click on Properties to change its ID attribute to @ + id / PhoneNumberText.
Also, change the Text property to 1-855-XAMARIN.
13- From the Toolbox, select a Button tool, drag it to the page and place it under the Plain Text widget.
14- Select the Button tool and change the Text property to Translate from the Properties section.
15- Change its ID attribute to id / Translate Button + @.
16- From the Toolbox, select the TextView tool, drag it inside the page and place it under the Button widget.
17- Select the Text property of the TextView tool as empty strings and change its Id property to id / TranslatedPhonewor @ +.
18- Save all the changes and operations you performed by pressing CTRL + S.
19- In the Solution Explorer section, click on the project name and add- Item New ...
20- In the Add New Item window that opens, select Visual C #> Code> Code File.
21- You create an empty and new C # class by doing this.
22- Put the codes entered below into the new and create the empty class.
23- Save all the changes and operations you performed by pressing CTRL + S.
24- To connect the user interface and the application to each other and communicate between them, you must put the following code on the buttons to perform the operation you want.
25- Put the following code in the OnCreate method. Base. OnCreate (saved instance state) and Call SetContentView (Resource.Layout. activity_main)
26- Call SetContentView, then add the code below to the OnCreate method.
27- Then add the following codes.

28- Save all the changes you made by pressing the combination keys or going to File> Save All or CTRL-SHIFT-S.
If you notice an error, it is best to go through the steps again. If other errors occur, make sure the namespace in MainActivity.cs is the same as the project name.
Your program and application are present.
In this tutorial, you were able to install XAMARIN.ANDROID and design the first application in it.
About our Android and iOS app development services