How to create a StackLayout in Xamarin?
|
|
8 minute(s) read
|
Published on: Mar 24, 2021
Updated on: Dec 14, 2021
|
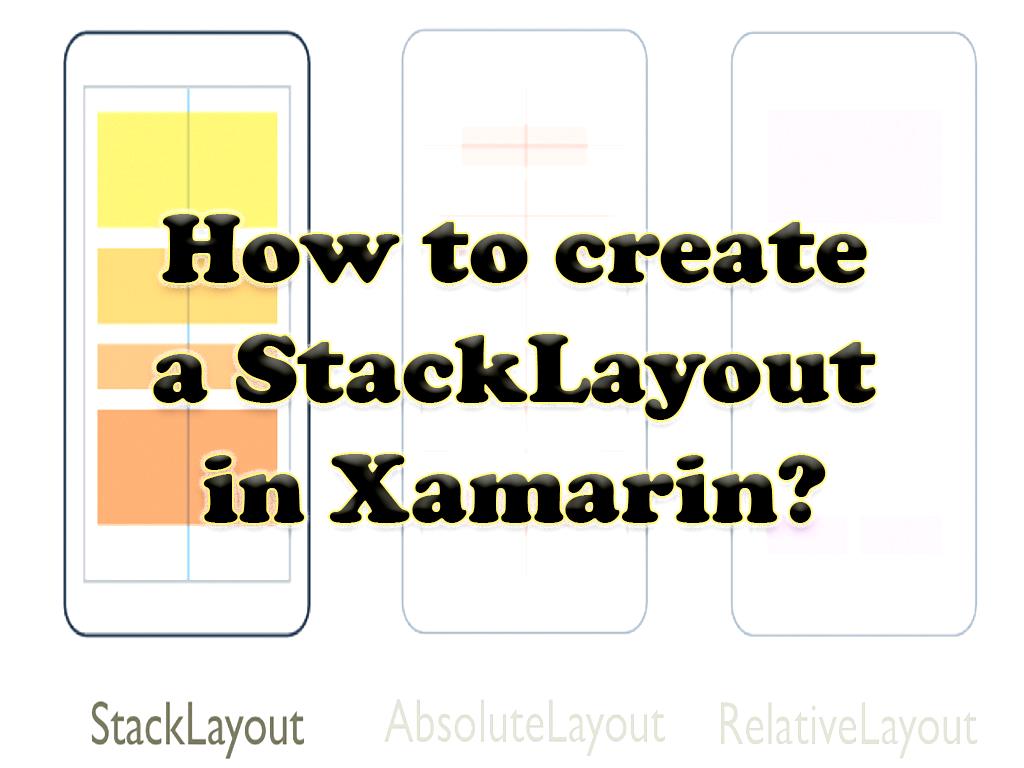
StackLayout can also be used to define StackOrientation properties and distances. StackOrientation is used to orient it. The values that can be placed in it are general and horizontal. The default value is vertical. Distance is also used to determine the distances between child views.

In this tutorial, you will learn that:
- How to create a StackLayout in Xamarin.Forms using XAML files?
- How to set the direction for the created StackLayout?
- How to control alignments and expansions for child views in StackLayout?
The requirements for doing this training and building and controlling StackLayouts are as follows:
- Install the latest version of Visual Studio 2019 on the system
- Install the latest version of Mobile development with.NET on the system
Learn how to create a StackLayout in Xamarin.Forms operating Visual Studio
1- Open Visual Studio. After opening Visual Studio, you need to create a new black Xamarin.Forms app.
2- Choose a name you create.
3- The name chosen in this article is StackLayoutTutorial.
Note:
It is best to choose names for projects and classes created.
Note:
The name chosen for the project must be the same as the name chosen for the solution, so choose the solution name StackLayoutTutorial.
- After naming, you must ensure that the system and application support the .NET Standard mechanism for shared code.
This mechanism is used to share code written in Xamarin.Forms with the C # programming language. If your system and app do not support this mechanism, it cannot have multiple outputs on multiple platforms at once so that you can have multiple outputs on several different platforms at the same time.
- Click on MainPage.XAML in the Solution Explorer section of the StackLayoutTutorial project and replace the code below with all the code in that section.
By entering this code, you specify a UI for the page. This UI consists of three labels in one StackLayout, the UI.
The page you specify has a StackLayout, and this StackLayout also has three Labels. These labels are for StackLayout as a child view. This means that the labels inside the StackLayouts are the same as the child views.
Inserting this code causes StackLayout to place existing labels in one line and the vertical line by default.
Margin also indicates the rendering position for StackLayout. Of course, in addition to the Margin attribute, the Padding and Spacing attributes can also be defined and set for StackLayouts. The value in the Padding attribute indicates the distance between views. You can also specify the distance between the child's view by setting the Spacing attribute.
- Press the Start controller or Ctrl-F5 key combination to see the result of the steps you did.
Orientation tutorial for this in Xamarin.Forms operating Visual Studio
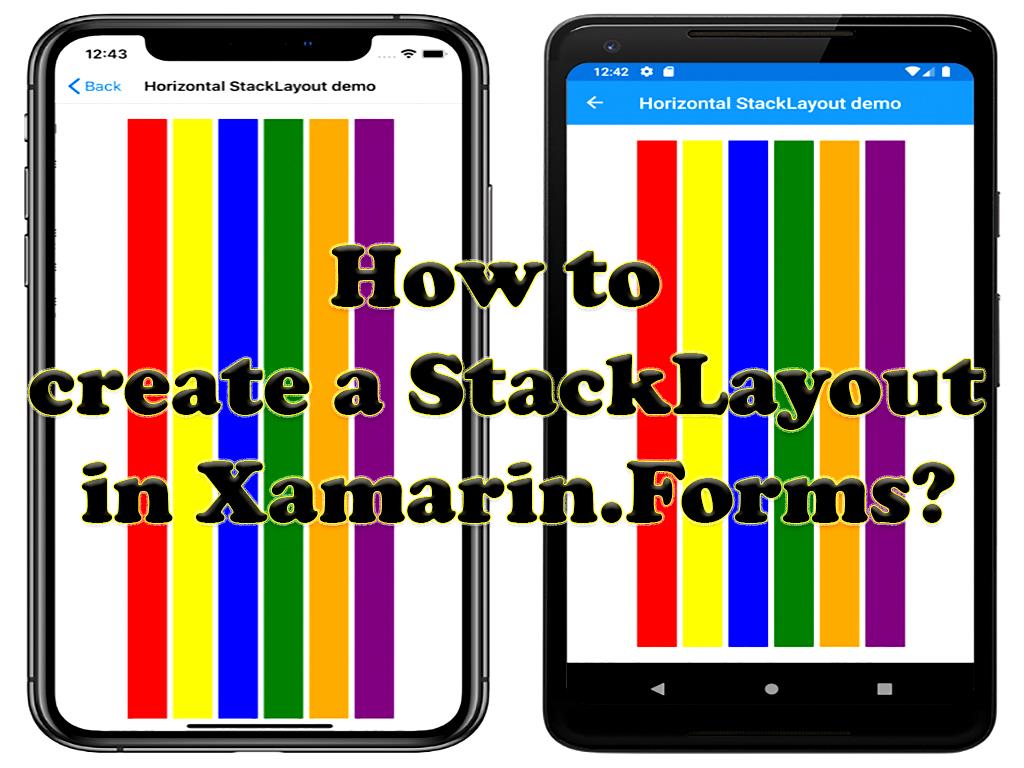
- To change the orientation of children and change their orientation from vertical to horizontal, you must change the StackLayout definition in the MainPage.XAML files.
- Replace the code below with all the code in the MainPage.XAML files to make the children's direction horizontal.
By entering this code, you convert the value in the Orientation attribute to Horizontal.
- Press the Start button or Ctrl-F5 key combination to see the result of the steps you did.
Learn how to specify alignment and expansion for Labels in the definition in Xamarin.Forms in Visual Studio
- To determine the alignment and expansion for child stack layout views, you must change the definition of stacklayout.
- Open the MainPage.xaml files and replace the code below with all the code in the MainPage.xaml files.
Inserting this code allows you to define and set alignment preferences for the first four labels and set expansion preferences for the next four labels. This code also defines the Start, Center, End, Fill, and Alignment sections for the labels in the stacklayout.
StartAndExpand, EndAndExpand, CenterAndExpand, and FillAndExpand are used to determine the alignment preference.
- Push the Start button or Ctrl + F5 key combination to see the result of the steps you did.
For StackLayouts to consider child view alignment preferences, they must be in the opposite direction of the StackLayout orientation. In this case, the Label child views, which are vertical, set the HorizontalOptions attribute as one of the filed alignments:
- Select Start to place on the left side of StackLayout - To center in the middle of the StackLayout, select Center.
- Select End to place on the right side of StackLayout.
In other words, StackLayout can expand child views in its direction.
The requirements for doing this training and building and controlling StackLayouts are as follows:
- Install the latest version of Visual Studio for Mac on the system
- Install the latest version of support platform for Android and iOS on the system
- Install the latest version of Xcode
Learn how to create a StackLayout in Xamarin.Forms using Visual Studio for Mac
1- Open Visual Studio for Mac.
2- After opening Visual Studio, you have to create a new black Xamarin.Forms app. Choose the name for which you create.
3- The name chosen in this article is StackLayoutTutorial.
Note:
It is best to choose names for projects and classes created.
Note:
The name chosen for the project must be the same as the name chosen for the solution, so choose the solution name StackLayoutTutorial.
- After naming, you must ensure that the system and the application support the .NET Standard mechanism for shared code.
This mechanism shares code written in Xamarin.Forms with the C # programming language. If your system and app do not support this mechanism, it cannot have multiple outputs on multiple platforms at once so that you can have multiple outputs on several different platforms at the same time.
- Click on MainPage.xaml in the Solution Pad section of the StackLayoutTutorial project and replace the codes listed below with all the codes in that section.
By entering this code, you specify a UI for the page. This UI consists of three labels in one StackLayout, the UI.
The page you specify has a StackLayout, and this StackLayout also has three Labels. These labels are for StackLayout as a child view. This means that the labels inside the StackLayouts are the same as the child views.
Inserting this code causes StackLayout to place existing labels in one line and the vertical line by default.
Margin also indicates the rendering position for StackLayout. Of course, in addition to the Margin attribute, the Padding and Spacing attributes can also be defined and set for StackLayouts. The value in the Padding attribute indicates the distance between views. You can also specify the distance between the child's view by setting the Spacing attribute.
- Push the Start button or Ctrl-F5 key combination to see the result of the steps you did.
Orientation tutorial for its in this using Visual-Studio for Mac
- To change the orientation of children and change their orientation from vertical to horizontal, you need to change the definition of StackLayout in the MainPage.xaml file.
- Converting the code listed below with all the available codes in this code, the value in the Orientation attribute to Horizontal.
Child view size and placement to values in HeightRequest, WidthRequest,
- Push the Start controller or Ctrl + F5 key combination to see the result of the steps you did.
The size and location of the Child view depend on the values of HeightRequest, WidthRequest, HorizontalOptions, and VerticalOptions.
The LayoutOptions structure can be used to set HorizontalOptions and VerticalOptions attributes.
layout-options includes two layout preferences:
Alignment:
It is used to specify the location and size of the child view in the parent view.
Expantion:
Specifies how much space the child's view needs.
Learn how to specify alignment and expansion for Labels in the definition in Xamarin.Forms using Visual-Studio for Mac
- To specify alignment and expansion for child stacklayout views, you must change the stacklayout definition.
Open the MainPage.xaml file and replace the code below with all the in the MainPage.xaml file.

Inserting this code allows you to define and set alignment preferences for the first four labels and set expansion preferences for the next four labels. This code also defines the Start, Center, End, Fill, and Alignment sections for the labels in the stacklayout.
StartAndExpand, EndAndExpand, CenterAndExpand, and FillAndExpand are used to determine the alignment preference.
- Press the Start controller or Ctrl + F5 key combination to see the result of the steps you did.
For StackLayouts to consider child view alignment preferences, they must be in the opposite direction of the orientation. In this case, the Label child views, which are vertical, set the HorizontalOptions attribute as one of the filed alignments:
- Select Start to place on the left side of StackLayout - To center in the middle of the StackLayout, select Center.
- Select End to place on the right side of StackLayout.
In other words, this can expand child views in its direction.
DotNek Android development services